How to protect from hijacked NPM packages by developing in a Sandbox Environment in Windows 11
NPM and the problem with exploits
Recently, there were several incidents with hijacked NPM packages that injected malicious code and executed it on the host systems, stealing user credentials, and so on.
WSL Sandbox Environment as a solution
To prevent that from happening, you can set up a safer solution with the new WSL 2 of Windows 11, so the malicious code only runs in a secure environment and cannot compromise anything on your host system.
Installation of Ubuntu
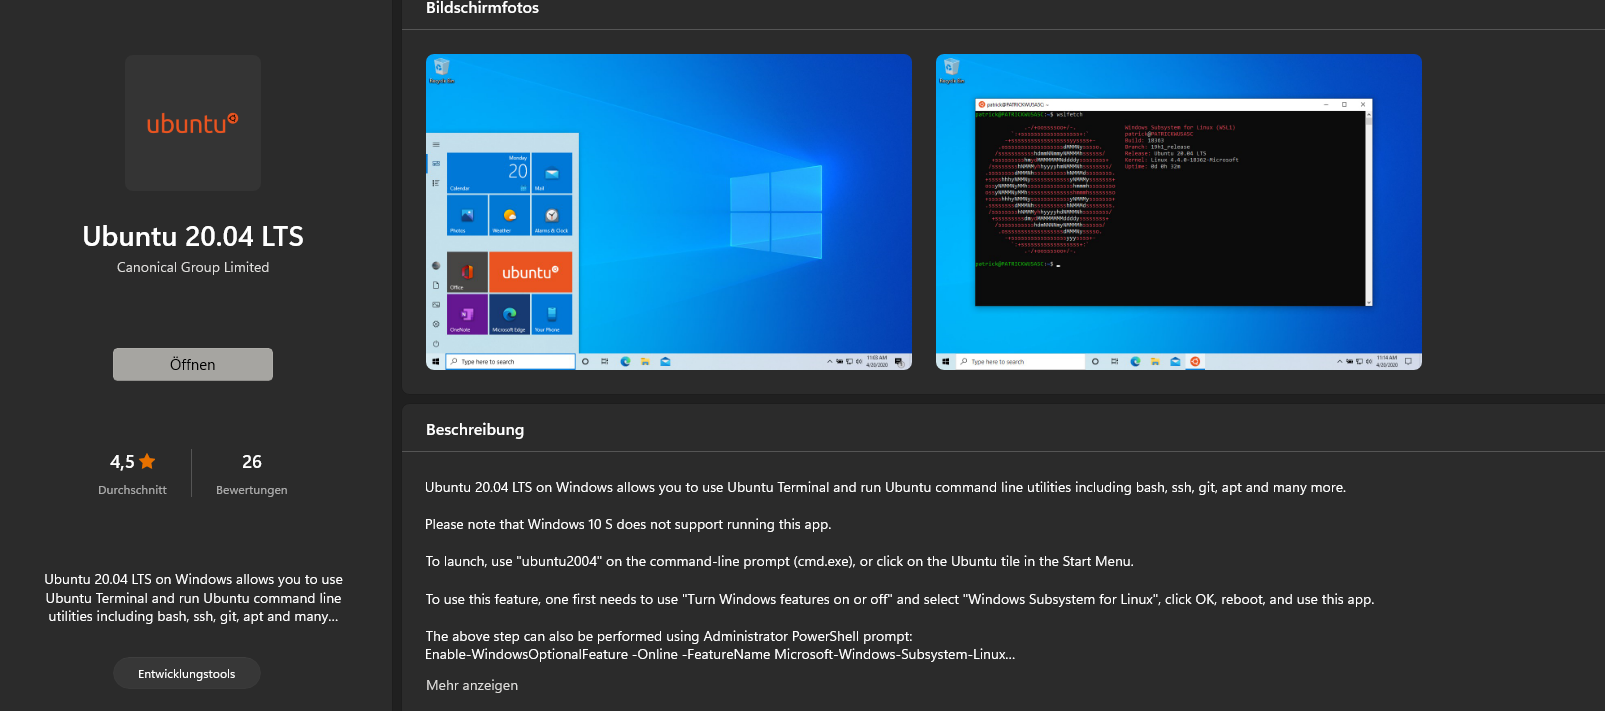
To install Ubuntu on your Windows 11 machine, simply go to the Microsoft Store and search for "Ubuntu".
I'm personally using Ubuntu 20.04 LTS, but older versions should work as well.
Moving your project to WSL Ubuntu
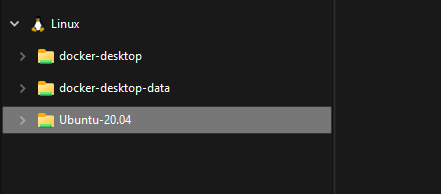
In this step, we navigate to "Our PC" in Windows 11. We should now see the Ubuntu file system in the bottom left corner under "Linux". Navigate to /home/your-user/ and create a new directory "workspace".
Then copy your web-based projects into it. You can remove the node_modules directory of each to speed things up a bit ( we need to run npm / yarn install on the new machine again anyways )
Installation of Nodejs
The next step is to install Node.js in your Ubuntu Distribution. We need to start the Ubuntu Shell.
I personally use Windows Terminal, which is available in the Microsoft Store.
Pick your Node.js distribution from here:
https://github.com/nodesource/distributions/blob/master/README.md
curl -fsSL https://deb.nodesource.com/setup_16.x | sudo -E bash -
sudo apt-get install -y nodejs
Install Yarn in Ubuntu
Additionally, you can install yarn and use it as your preferred package manager
npm install -g yarn
Set Permissions of your project directory
To run the Ubuntu yarn from Windows, we need to give the project rwx permissions.
sudo chmod -R 0777 the-project-path
Configuring Jetbrains WebStorm or IntelliJ IDEA to use WSL / Ubuntu as terminal
Now you can open the project by navigating to the correct directory, within the Ubuntu file system, which should be located under `/home/user/workspace/myproject`.
We need to set wsl.exe as our default terminal, so all our commands are executed in Ubuntu and not in Windows.
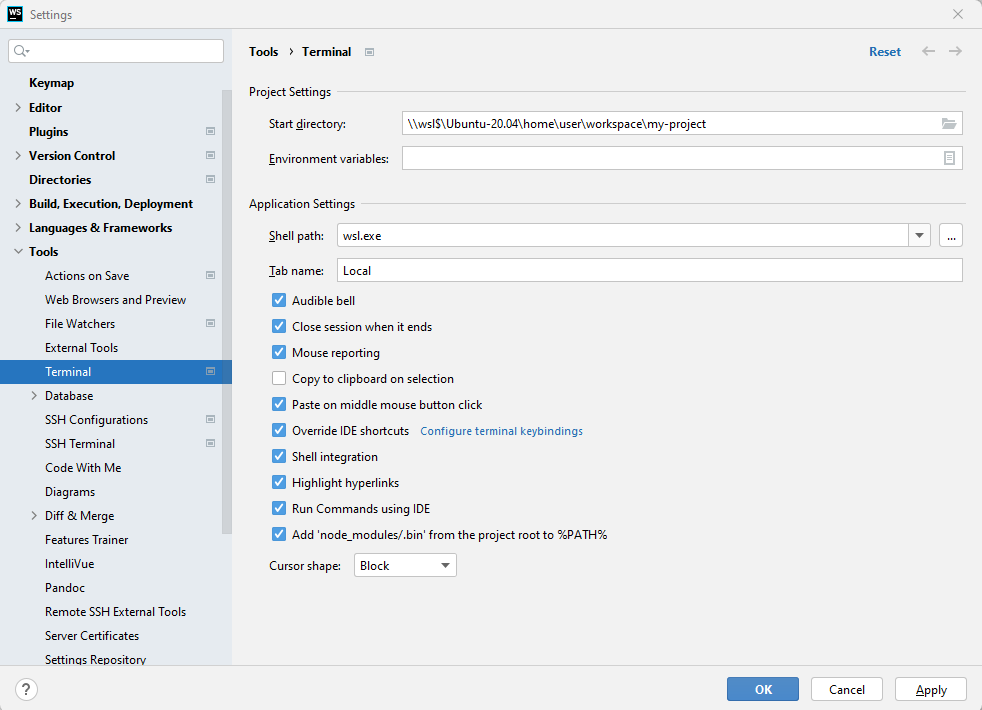
You can give the wsl command a distribution flag in addition, to ensure that always the right distribution is picked
wsl.exe --distribution Ubuntu-20.04
The terminal tab at the bottom of WebStorm will now default to Ubuntu.

If you are running multiple distributions with WSL (for example if Docker is installed and WSL enabled) you should set your Ubuntu distribution to default:
wsl.exe -l
wsl.exe -s <your ubuntu distribution name>
Otherwise, you might run into this issue
An error occurred mounting one of your file systems. Please run 'dmesg' for more details.
See https://github.com/microsoft/WSL/issues/5456
Configuring WebStorm to use the Node.js Interpreter and Yarn within Ubuntu
We also need to tell WebStorm / IntelliJ to use the recently installed Node.js interpreter of Ubuntu, instead of the one in Windows.
Go to Settings and type "npm" and click on the settings menu "Node.js and NPM.
Now click on the three dots [...] of Node interpreter, then click on the plus sign and pick "Add WSL". You should now see this:
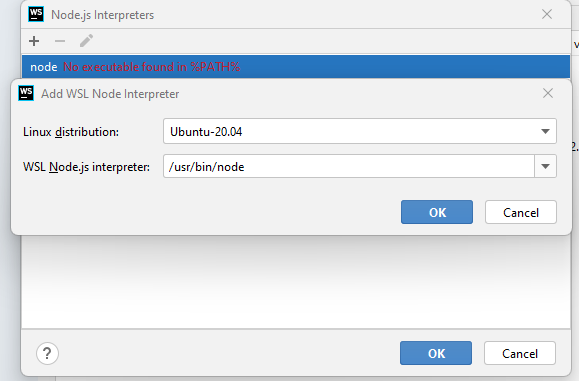
After you've picked the Ubuntu Node.js interpreter, you can choose it as the default interpreter.
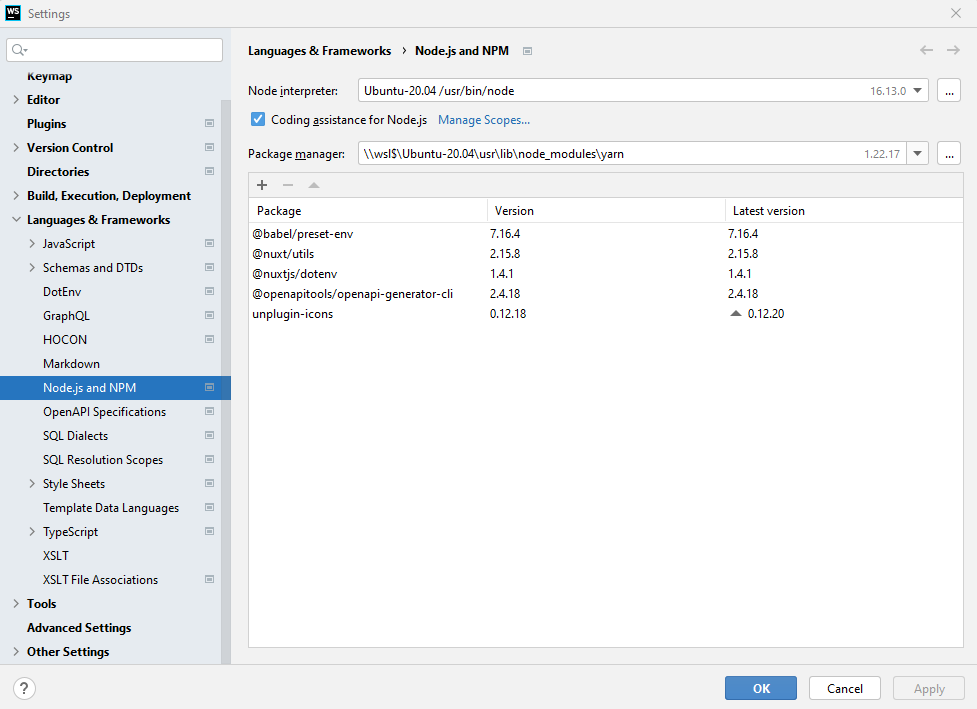
In my case, the yarn path was wrong and pointed to a non-existent directory. I had to change it accordingly to the installation directory:
\wsl$\Ubuntu-20.04\usr\lib\node_modules\yarn
Git
If you are using Git, and have copied your project to Ubuntu, you don't have to install git on the Linux distribution. WebStorm will work fine with the Git installation of Windows, although your project is mounted in Ubuntu.
Disable WSL Automount
WSL automounts all of your Windows partitions by default, and your Ubuntu User has read and write access. In theory, your host system's files are still not protected and the "sandbox" is open.
We disable auto-mount of WSL and restrict Ubuntu's access to the filesystem of the host entirely.
For that, navigate to your /etc directory, use an editor of your choice and type
sudo nano wsl.conf
paste this content inside and save the file
[automount]
enabled=false
mountFsTab=true
"kill" Ubuntu.
wsl --terminate Ubuntu
Restart it by re-opening the Windows Terminal with the Ubuntu Shell, or in case you are having Docker Desktop installed, it will recognized the termination and offer you to restart your Ubuntu WSL distribution.
Navigate to /mnt/. Although you still might see directories inside, they won't point to your hosts file system anymore.
Increase max memory allowed of WSL / Ubuntu
By default, WSL2 can only use 1GB of memory, which is insufficient for web development.
We need to create/update the `.wslconfig` in our host system under
C://Users/YourUser/.wslconfig
It should look something like this, depending on your hardware requirements
[wsl2]
memory=4GB # Limits VM memory in WSL 2 to 4 GB
processors=2 # Makes the WSL 2 VM use two virtual processors
Afterwards, we have to shutdown not only our distribution, but WSL entirely. We do so by typing
wsl --shutdown
When we open the Windows Terminal again, WSL is booted automatically.
Testing
If you have configured everything, you can open the terminal and type `yarn install`. It should now run into Ubuntu.
Run Configurations should now also point to the correct node interpreter and run in ubuntu.
